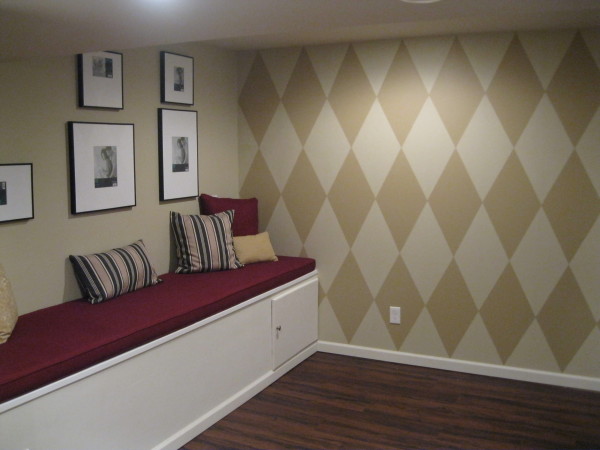
I always loved the classic look of a harlequin pattern. I had a large wall in my basement that was screaming for attention. I decided to roll up my sleeves and get to work.
Materials list: Painters tape, paint ( the color of your diamonds), drop clothes, roller pan, small 5″ roller (foam), magic sponge(to erase pencil lines), pencil,measuring tape, large 3 foot leveler, and small leveler.
To begin you have to decide how large you want your diamonds to be. I wanted my pattern to have a more contemporary feel so I decided to make my diamonds large. The rule of thumb is the height of the diamond should be twice the width. Once you have decided how large you want your diamonds to be, take the width of the wall and divide it by the width of your diamond and that will tell you how many rows vertically to draw. Do the same with the height of the diamond to figure out how many rows to draw Horizontally. Once you have your measurements your wall should look like the grids below. Next step is to draw your diamonds. Measure each rectangle and find the halfway point of the width and height and mark them with a pencil. Connect the dots to create your diamonds. Below is an example:
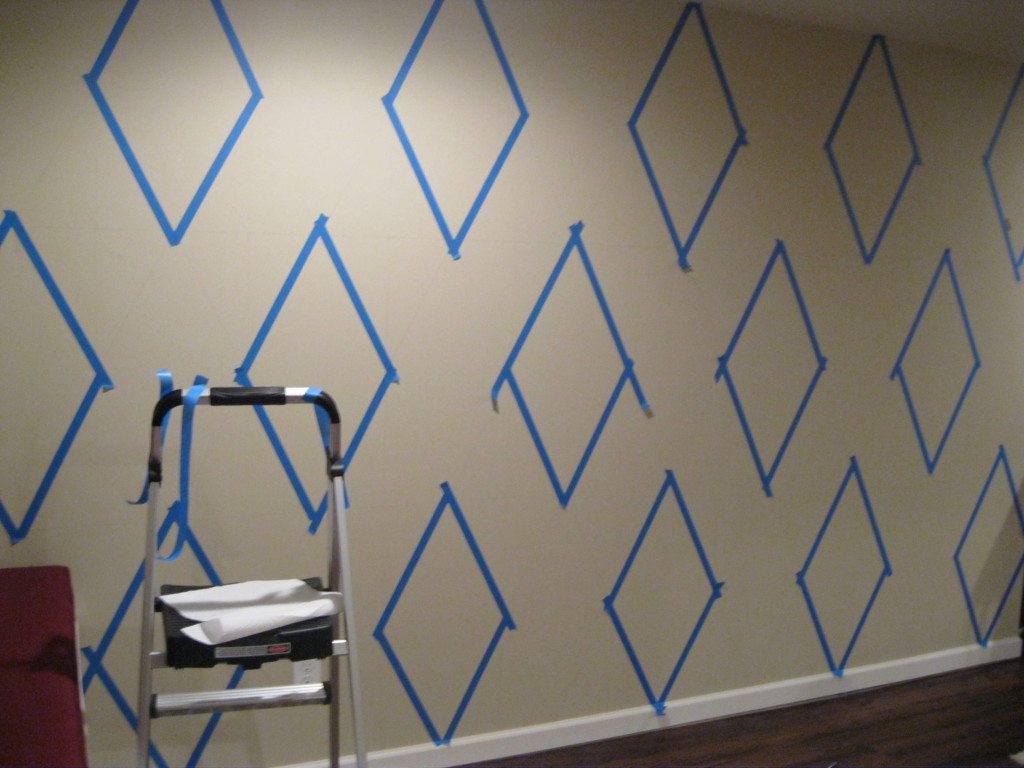
Next tape every other diamond with your painters tape. Begin to paint.
I advise you to remove the tape immediately after painting each diamond. It comes off easier and reduces bleeding.
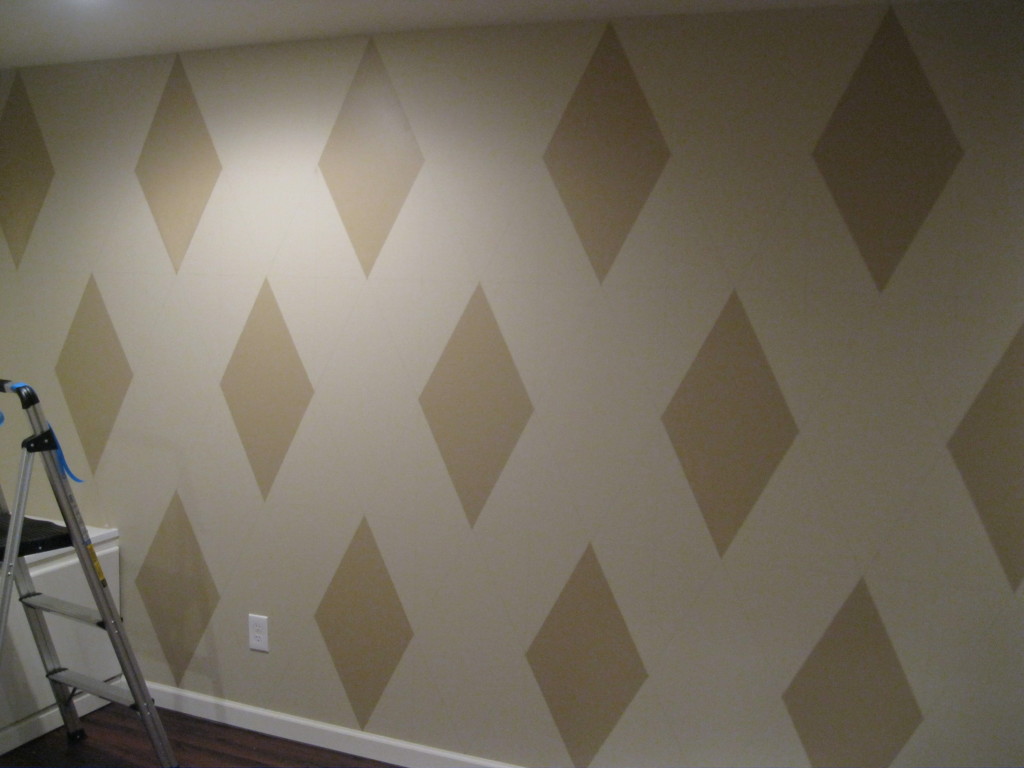
Once finished with that step your wall should look like this:
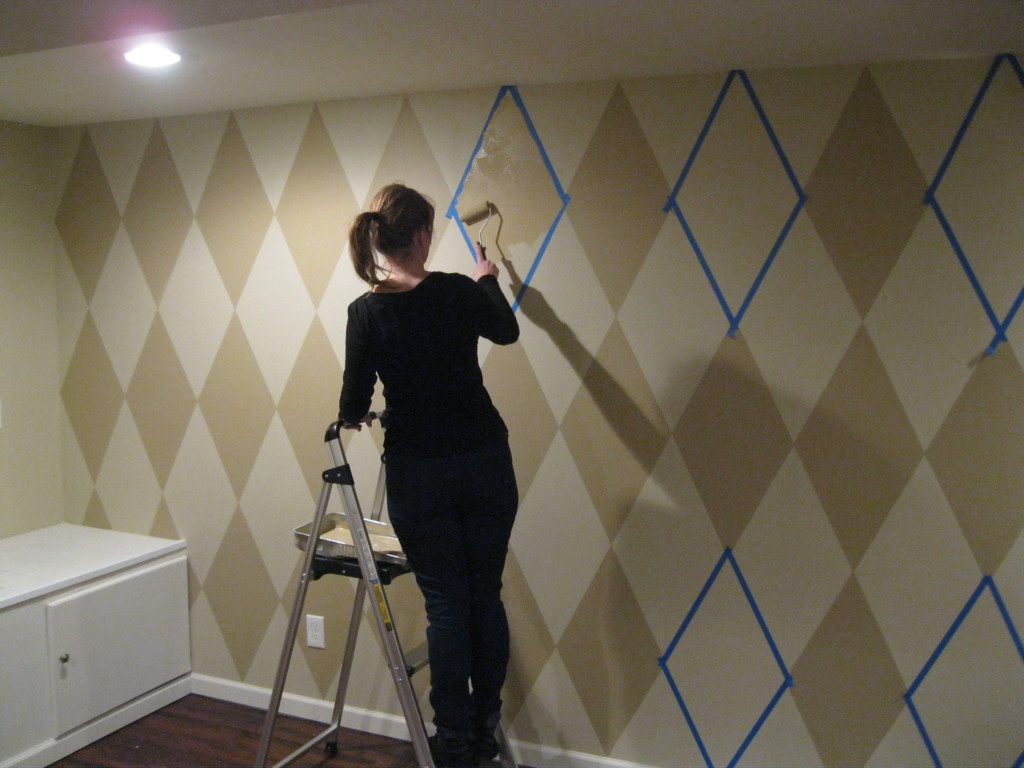
Next tape off the rest of your diamonds.
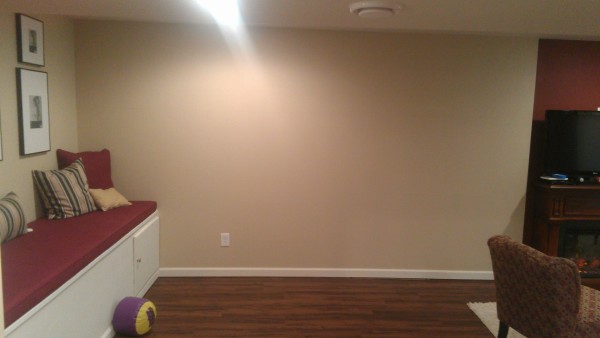
This is the wall before:
This is the wall after:
It took me 4 hours to complete. For the color of the diamonds I mixed two leftover paints sitting in my garage; 50% Benjamin Moore Livingston Gold and 50% Latte from Restoration Hardware. The base coat of the wall is Restoration Hardware Latte. I didn’t have to spend money on paint. Total cost for project $7.00 (painters tape). Happy painting!


